
Leave a Review


As a neighboring country, we often require Indian visas for various purposes; yet, due to limited visa slots, the hassles associated with passport and visa offices, and the menace of middlemen, the very term "Indian visa" has become a source of anxiety for many. Although tourist visa applications resumed in June 2026 after a two-year hiatus, the sheer volume of applications—thousands vying for a single slot—means they are often fully booked before you can even check. This becomes a critical, life-or-death matter when you need an urgent or emergency visa for a sick family member or loved one.
Moreover, the current Indian visa application process is more complex than ever. Between signing up, OTP verification, uploading web files, and scanning documents, an applicant can feel overwhelmed even before the slots open at 6 PM. Once the slots are gone, one is left waiting anxiously—like the chatak bird—for the next opportunity to apply.
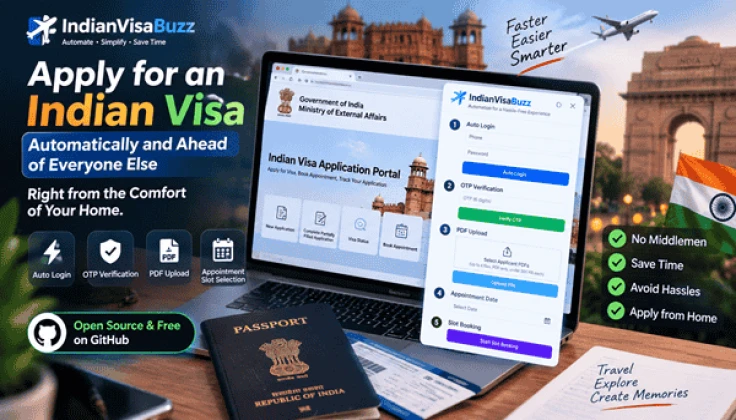
To avoid such hassles, the IndianVisaBuzz automation tool was created. It allows you to automate almost the entire Indian visa application process from home, enabling tasks like logging in, OTP verification, PDF uploading, and appointment slot selection to be completed as quickly as possible.
IndianVisaBuzz is a completely open-source and free resource available on GitHub. It is free forever, so there are no unnecessary complications regarding license keys, admin secrets, or activation codes.
First, visit the IndianVisaBuzz web app >>> Click the "Download Extension" button >>> Download the ZIP file to your computer >>> Right-click the ZIP file and extract it >>> Open the Chrome browser and type chrome://extensions in the address bar >>> Enable "Developer mode" on the right side >>> Click the "Load unpacked" button >>> Select the extension folder from within the extracted folder >>> Once installed, pin the IndianVisaBuzz extension to your Chrome toolbar. Now, proceed with the following steps:
First, open the official Indian visa application portal. If you already have an account, go to the login page; otherwise, create a new account according to the portal's guidelines.
Next, have the following information ready:
· Login phone number and password
· Mobile number where you will receive the OTP
· Passport and necessary documents
· Required PDF files
· Desired appointment date
Please note that if a CAPTCHA appears, you will need to fill it in manually.
Now, activate the widget: while the Indian Visa portal is open, click on the IndianVisaBuzz extension icon in the Chrome toolbar. An automation widget will appear on the screen with options for Phone, Password, OTP, Appointment Date, and Applicant PDF. In the 'Auto Login' step, enter your Indian Visa portal account phone number in the 'Phone' field and your account password in the 'Password' field. Click the 'Auto Login' button [complete the CAPTCHA]. In the 'OTP Verification' step, once logged in, retrieve the OTP sent to your mobile or email, enter the 6-digit code into the widget's OTP field, and click the 'Verify OTP' button [IndianVisaBuzz attempts to submit the OTP for both single-field and split-field formats, but you must manually enter the OTP into the widget's field]. Finally, in the 'PDF Upload' step, go to the 'Applicant PDFs' section of the widget and select your PDF files [use drag-and-drop if necessary; the system accepts up to four PDF files, categorizing the first as 'Primary' and the subsequent ones as 'Extra 1', 'Extra 2', and 'Extra 3'. Each file must be in PDF format and under 500 KB in size; duplicate files with the same name will not be accepted]. Before uploading, verify that the document belongs to the correct applicant and that the passport information is accurate. Check if the document is readable, etc. >>> Then, click the 'Upload File' button >>> The automation system will attempt to locate and click the 'Save/Continue' button on the confirmation screen [you can manually verify on the portal page whether the upload was successful] >>> In the slot booking step, select your desired date in the appointment date field of the automation widget >>> Click the 'Slot Booking' button on the Indian Visa portal's calendar or appointment page >>> The IndianVisaBuzz automation system will automatically search for the mission or appointment confirmation option > locate the calendar > navigate to your selected year and month > press the 'Next Month' button if necessary > select the desired date if it is available and enabled > and finally, click the 'Continue Booking' button.
Please note that if a date is not available on the portal, IndianVisaBuzz will not create one; therefore, please verify the status of the visa application process to ensure it is active.
Above all, wishing everyone good health, along with my best regards and love.