
Leave a Review


You open PUBG Mobile, see your UC balance is lower than expected, and can't remember what you bought. It happens to almost everyone who tops up often. Maybe it was a Royale Pass, a crate spin, or a skin you bought late at night. Without a record, you are just guessing, and that makes it hard to spot a mistake or a purchase you never made.
Here is the short answer. To learn how to check UC spend history in PUBG Mobile, open the game's Customer Service and look at the Currency Turnover records. They show every UC gain and spend with dates and amounts. For purchases of UC itself, you check Midasbuy or your payment records.
This guide walks you through each method, one step at a time. You will see where to find the in-game records, how to read them, and how to confirm top-ups through Midasbuy or your app store. If you top up through AroraShop with bKash, Nagad or Rocket, we also cover how to match your payment messages to what you received, so every taka is accounted for.
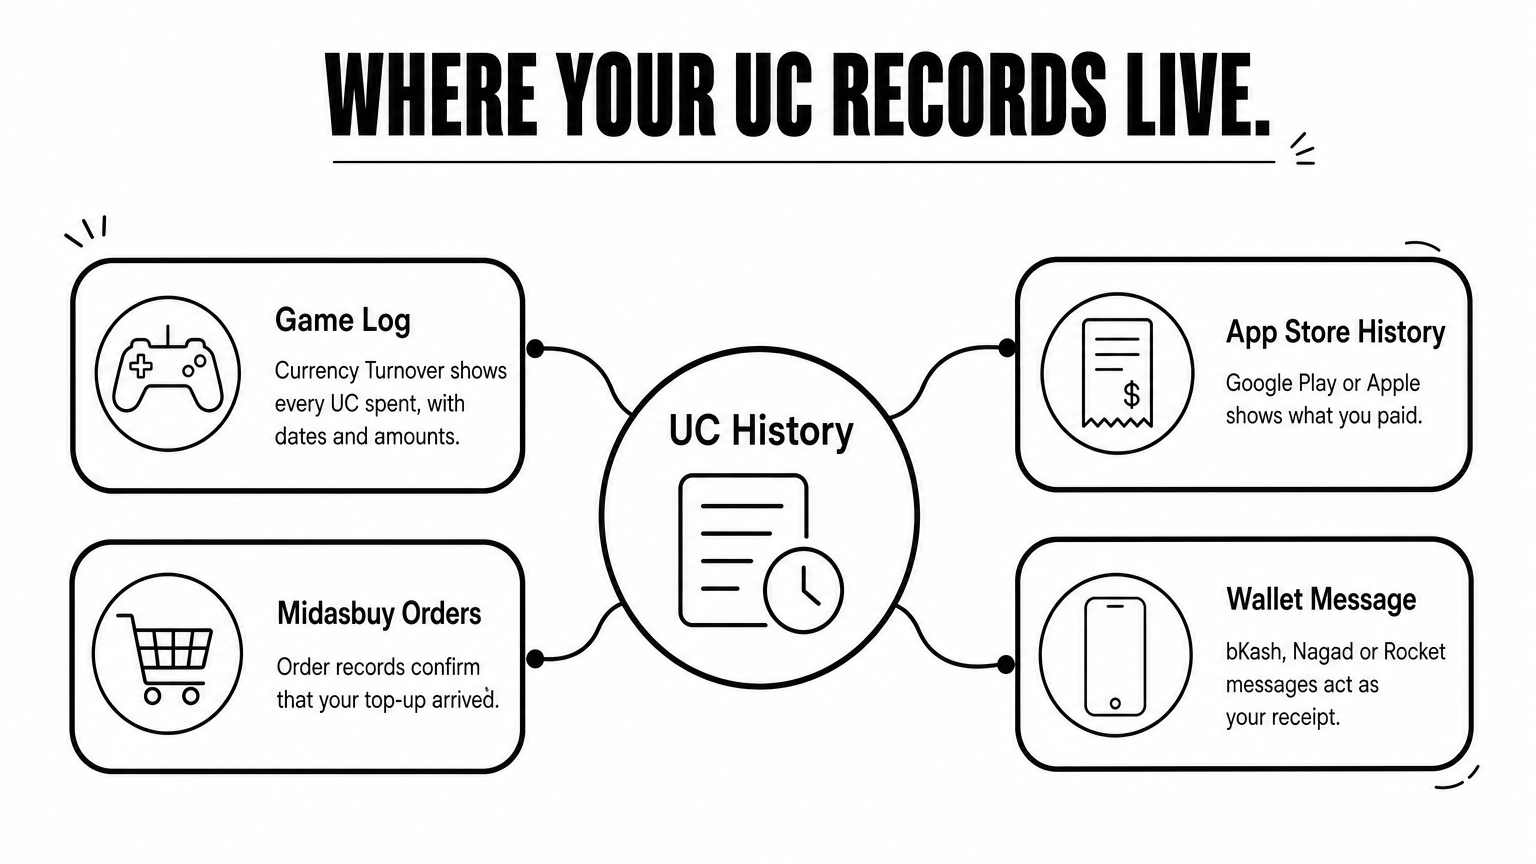
Before you tap through any menus, know that UC history is not one list. It is spread across the game, Midasbuy, and your payment provider. Each one answers a different question, and mixing them up is why many players think their records are missing.
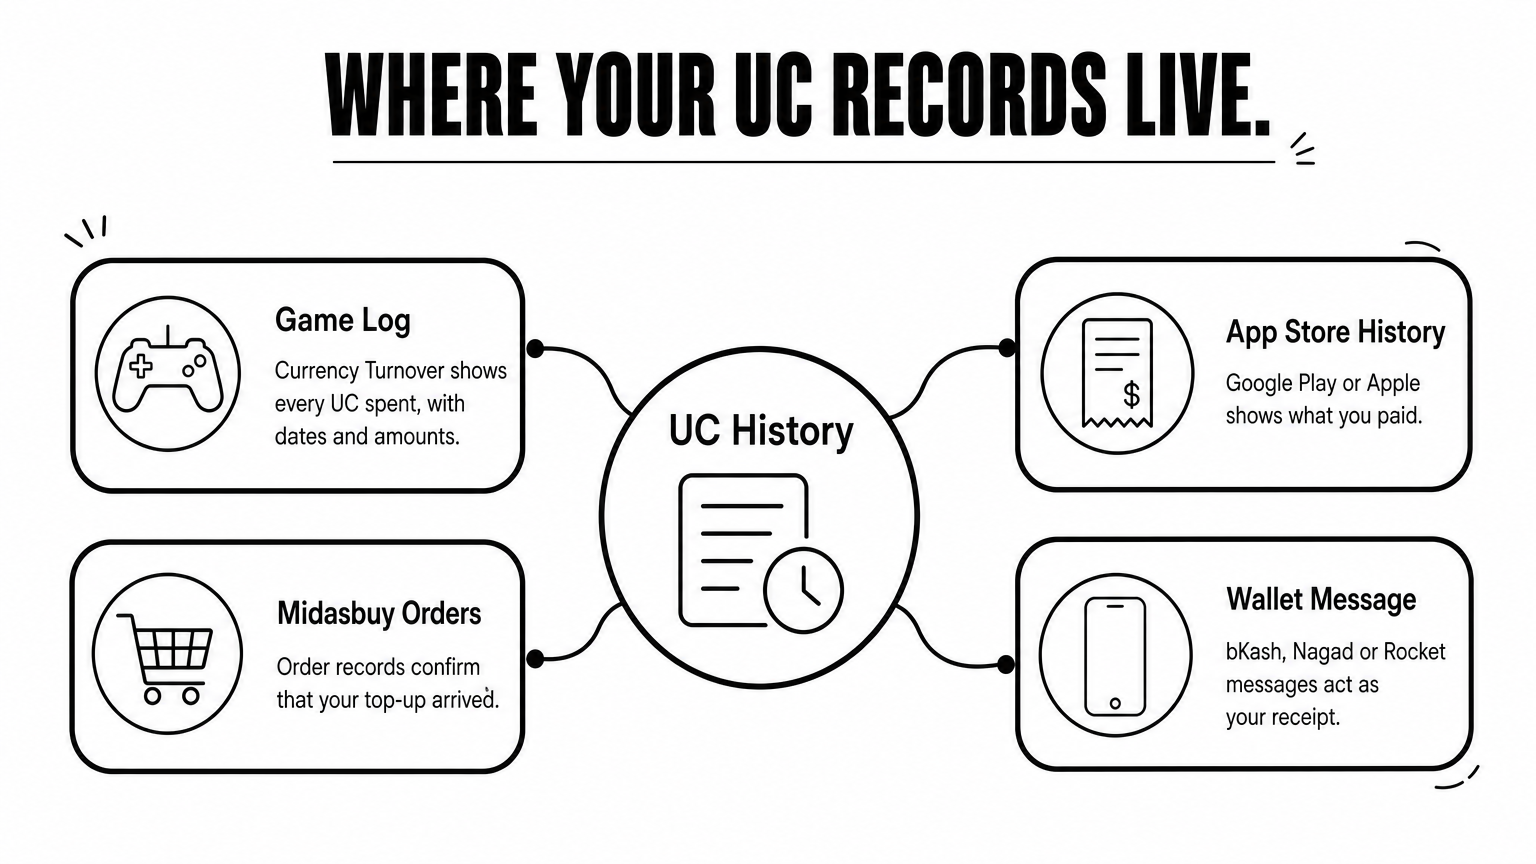
PUBG Mobile tracks two separate things. UC spending is what leaves your balance when you buy a Royale Pass, a crate, or an outfit. UC purchases are the real-money top-ups that add UC to your account. The game logs the first. Midasbuy, your app store, or your payment provider logs the second.
Knowing this saves time. If you want to check UC spend history in PUBG Mobile because your balance looks wrong, start inside the game. If you need proof that you paid for a top-up, start outside it. Records may also only reach back a limited period, so check sooner rather than later.
Your game shows where your UC went, and your payment records show where it came from.
Use this table to pick the right place on your first try. The next four steps follow the same order.
Your question Where to look What you will see Where did my UC go? Customer Service, Currency Turnover UC gained and spent, with dates and amounts Did my top-up arrive? Midasbuy order records Order number, UC amount, status How much did I pay? Google Play or App Store history Charge date and amount in your currency Did my local payment go through? bKash, Nagad or Rocket message Transaction ID, amount, timeThe last row matters if you buy from a local store instead of paying with a card. In that case, your mobile wallet message is the receipt, and the store's order page confirms what was delivered. Keep both until you have checked your balance.
This is the fastest way to check your UC spend history, and it needs no outside account. The game keeps a Currency Turnover log inside Customer Service, so you can see where your UC went in under a minute.
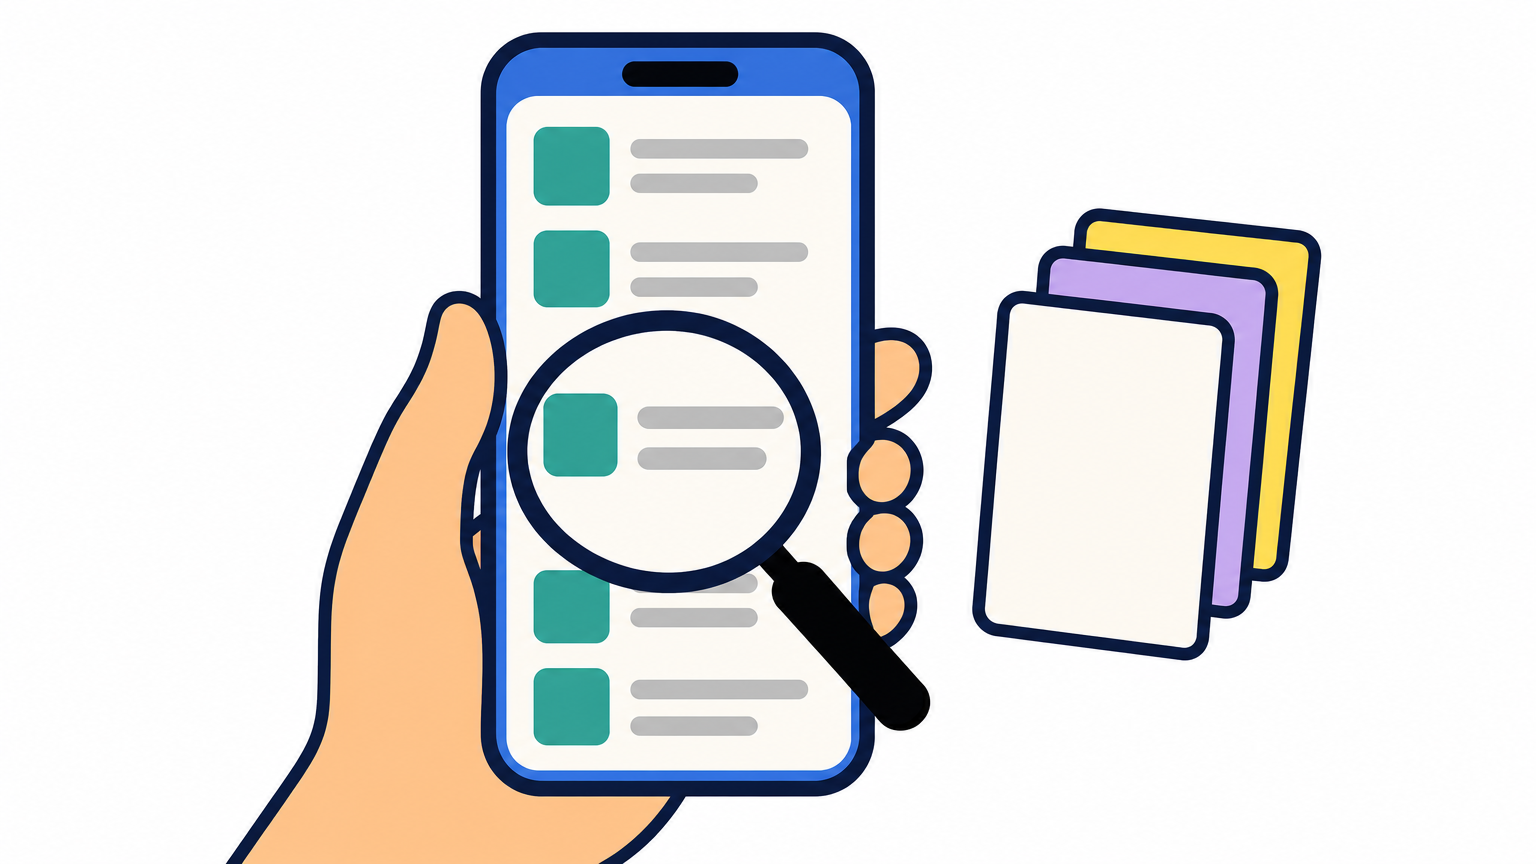
Start from the main lobby. Menu names shift slightly between game versions, so follow the closest match on your screen.
Every line shows a date, an amount, and the reason for the change. Check the date and time, the UC amount (spending appears as a minus), and the item named. Compare each line with what you remember buying, such as a Royale Pass or a crate opening.
If a UC deduction has a date, an amount, and an item name, you can account for it.
Take screenshots of anything that looks wrong. If a line shows a spend you do not recognize, send those screenshots to in-game Customer Service right away. Records only go back a limited time, so waiting makes a dispute harder to prove. Also confirm that nobody else logged into your account, and change your password if you are unsure.
Midasbuy is the official PUBG Mobile top-up site, and it logs every purchase made through it. Use this step when you want to confirm a top-up arrived, not to see where UC was spent. Top-ups bought from a reseller such as AroraShop will not appear here, so check that store's order page instead.
Sign in with the wrong method and you will see an empty list. That does not mean your purchase vanished. It usually means you opened a different account, so log out and try your original login.
Each order has a few fields. Match them against your payment message or receipt.
Field What to check Order number Save it in case you need support UC amount Matches the pack you chose, including bonus UC Status Shows as successful or completed Date and time Matches your payment timeA completed order that matches your payment means your UC was delivered.
Look out for orders marked pending or failed where money still left your account. In that case, keep the order number and your payment receipt, then contact Midasbuy support with both. Do not pay again until the first order is resolved.
Some players buy UC through the in-app store, so the charge lands in Google Play or Apple's records instead of Midasbuy. Use this step when you want to see exactly how much you paid and when. When you check UC spend history in PUBG Mobile, this is the part that covers real money, not items.
Google Play lists every purchase tied to your account. Look for entries from PUBG MOBILE.
Apple keeps a similar list under your Apple ID.
Store records show the charge, not the item list, so compare the amount and date with your Midasbuy order or your Currency Turnover log. Any mismatch is worth a closer look.
Store history proves what you paid, not what you received.
Payments made with bKash, Nagad or Rocket will not show up here at all. For those, your wallet message is the receipt, and the seller's order page confirms delivery.
Now put the records together. Once you have the in-game log, your Midasbuy orders, and your payment receipts, one simple tally shows whether everything adds up. It also turns scattered PUBG Mobile UC transaction history into a clear answer.
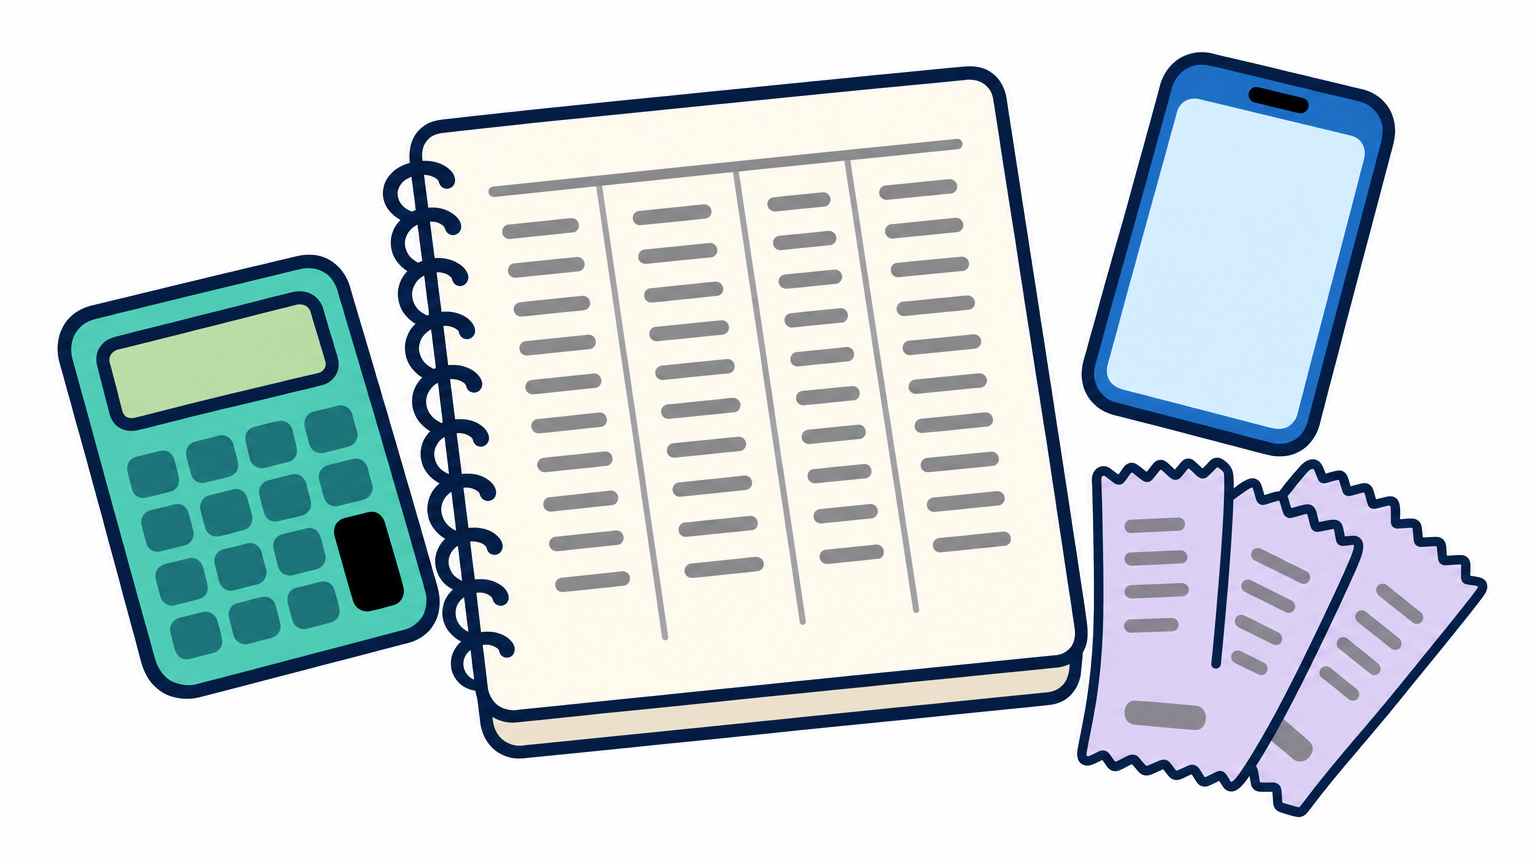
Open a notes app or spreadsheet and copy each record into one row. Use the same columns every time so gaps stand out.
Date Source UC in UC out Note Sep 12 Top-up order 660 Receipt saved Sep 13 Currency Turnover 600 Royale PassStart with your opening balance, add every UC in, and subtract every UC out. The result should equal your current balance. A mismatch means a missing record, so go back to the step where that record lives.
If your tally does not match your balance, a record is missing, so find it before you spend more.
Watch for these red flags while you review:
Each flag has a next move. Screenshot the entries, then contact in-game Customer Service about spends, or the seller or payment provider about money. If the account looks shared, change your password and log out of other devices.
Now you know how to check UC spend history in PUBG Mobile. Currency Turnover in Customer Service shows where your UC went, Midasbuy and your app store show where it came from, and a simple tally ties the two together.
Make it a habit. Once a month, spend five minutes comparing your in-game log with your receipts. Screenshot anything odd early, because records only reach back so far, and keep every payment message until your balance is confirmed.
Buying UC is easier when your record trail is clean. If you pay with bKash, Nagad or Rocket, you can top up PUBG Mobile UC at AroraShop and keep your wallet message next to the order page. You get instant delivery and a receipt you can check against your game history.